I recently got access to the Windows Store, and submitted my first app, “The game of Bao”, a simple and fun board game I learned when we visited Malawi, Africa during our honeymoon (any money the game makes will be donated back to an organization working on improving the lives of the kids that taught us this game, so please be kind and play it a lot and give some great reviews :-).
I recorded the steps that I have had to go through so you can see what you need to have ready if you need to submit an app yourself.
*Note: Currently access to the Windows Store is limited to either companies and people who goes through an “App Excellence Lab”. Once your app gets the “seal of approval” from a Microsoft Engineer, you’ll get an invite code so you can create an account for the Windows Store.
When you sign into the windows store, the first thing you’re greeted with is the dashboard, where you can submit an app.
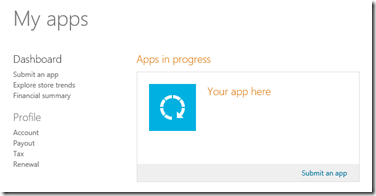
Clicking “Submit an app” brings you to a list of the steps you have to go through. You work your way through them from top to bottom (you can always go back and change stuff as long as you haven’t submitted yet):
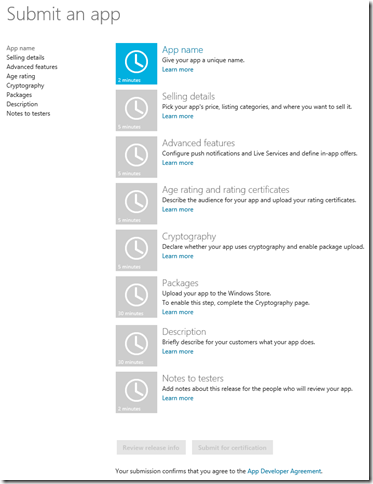
First step is to give you application a name. This is a unique name, so if someone else already published an app with that name, you’ll have to come up with a different name. Also note the mention that your app’s manifest must have the exact same DisplayName set. You can also reserve your app name this way, and later finish the app submission process when your app is ready.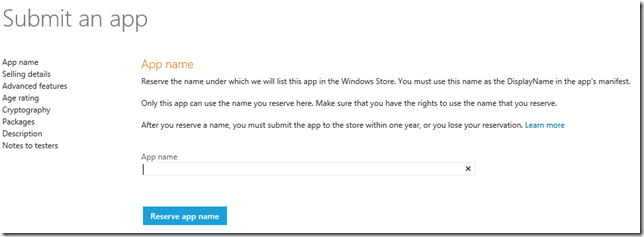
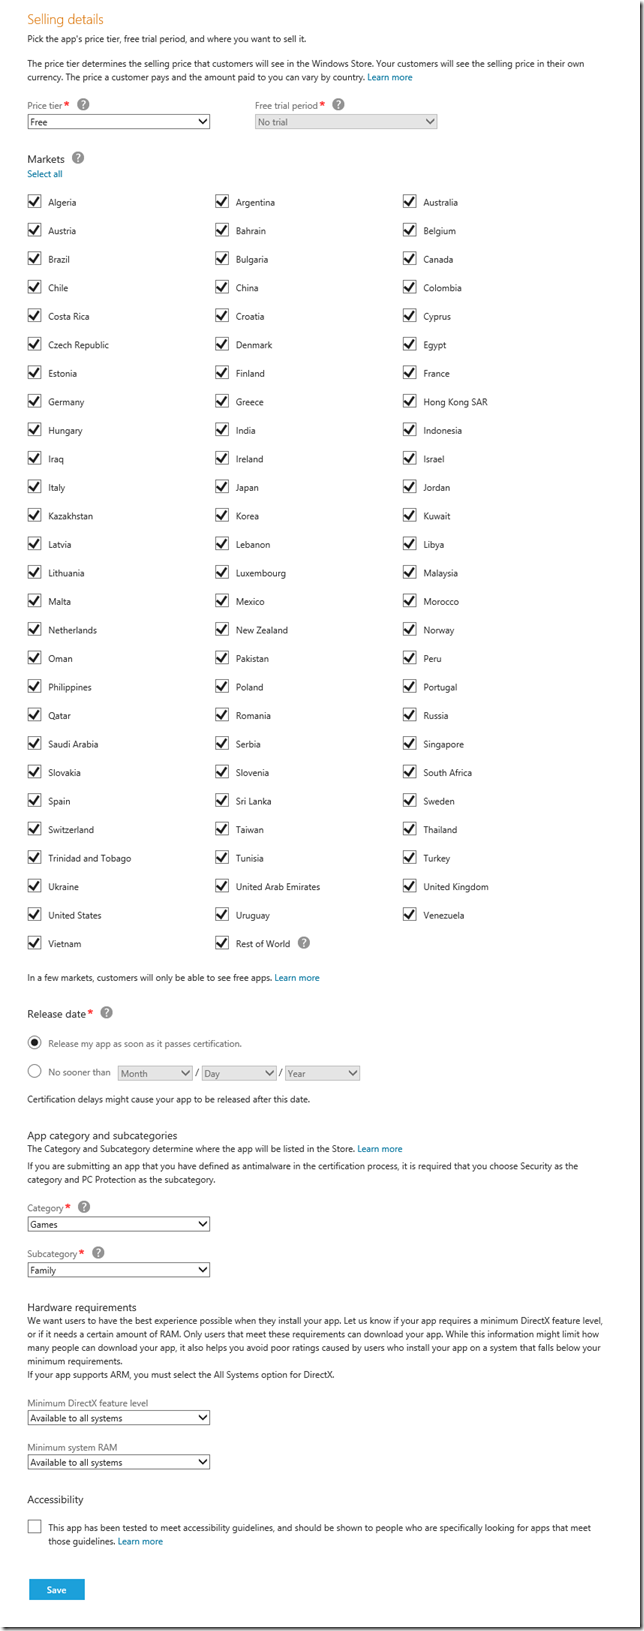
The next step is the selling details. There’s quite a lot to fill out here, but still pretty straightforward:
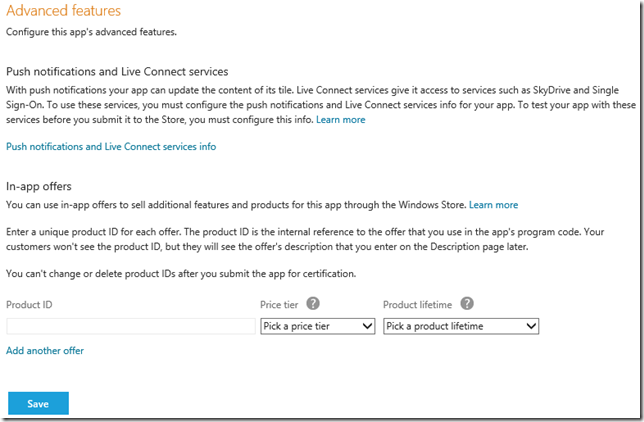
The next page allows you to configure in-app purchase (you can add as many as you want, ranging from $1.49 up to $999.99):
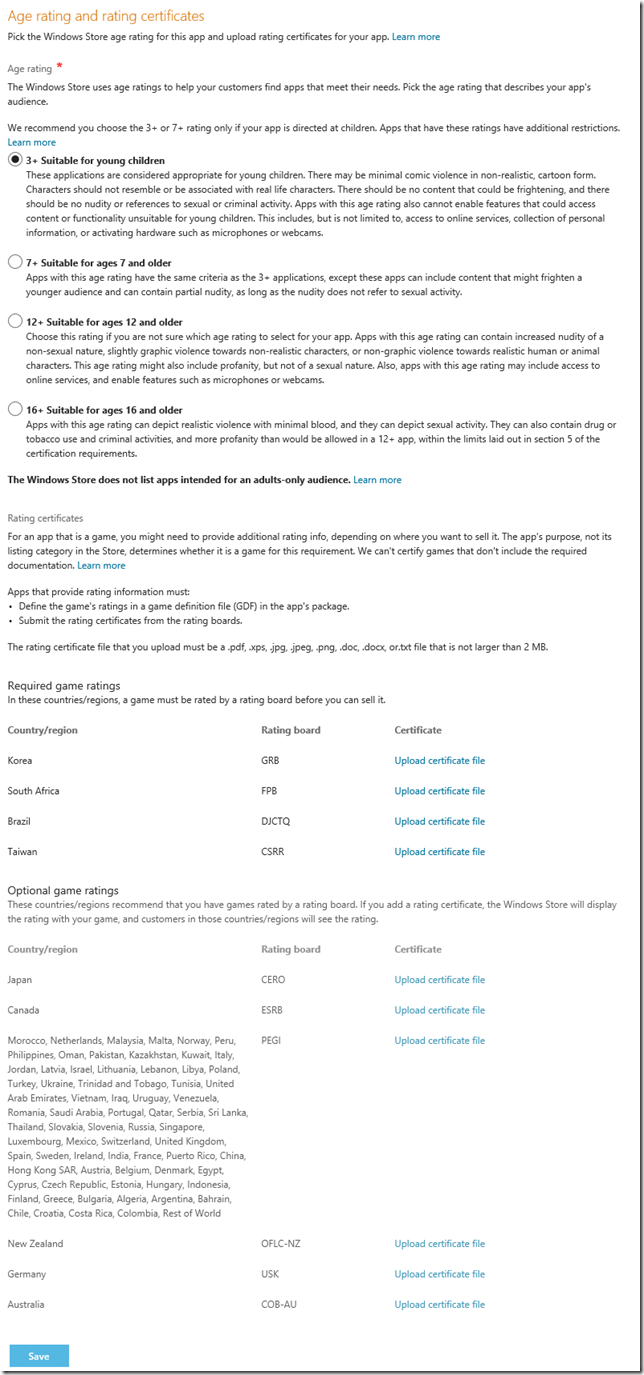
The next step is the age rating. Make sure you read the “small” print. If your app has access to the internet, chances are you can’t go with the lowest rating, no matter how PG your app is. Also note that for some countries a rating certificate is required to be able to publish there (I have no clue how to get these though):
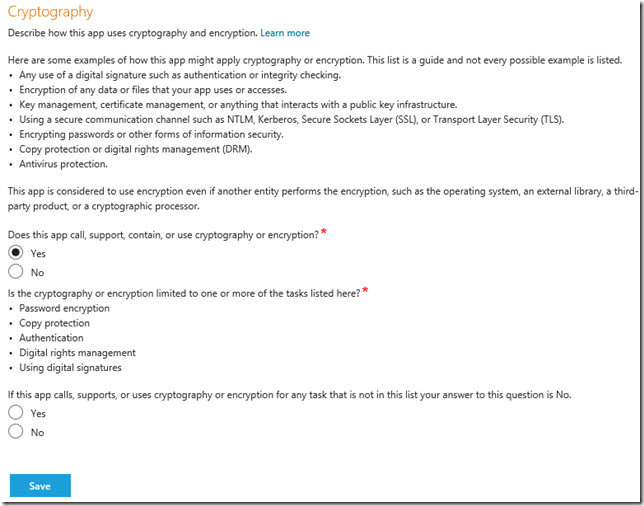
Next step is declaring whether your app uses any form of cryptography (there’s a lot of export restrictions on that technology). You either say yes or no. If you pick yes, you’ll be asked a few more questions about this:
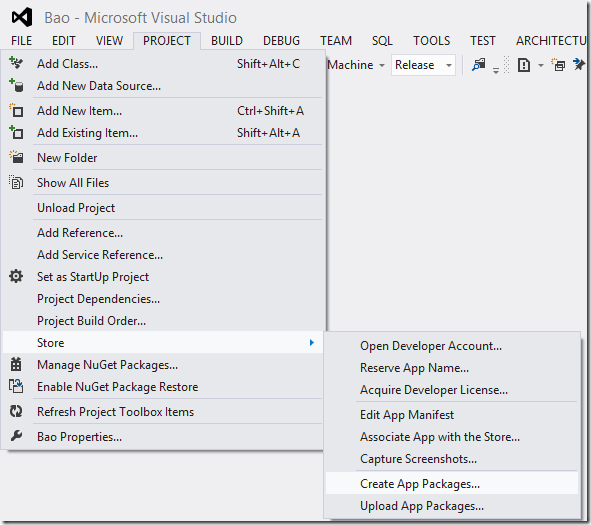
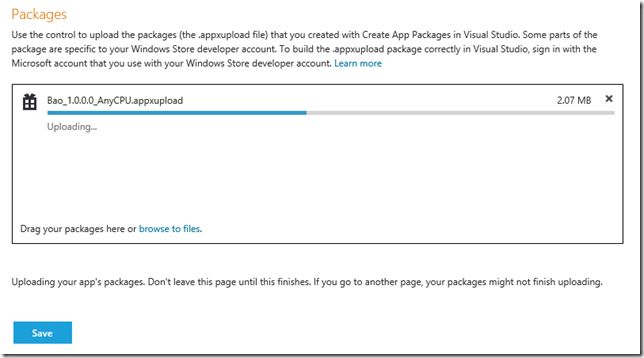
Next step is to upload your app package. In Visual Studio, select “Project –> Store –> Create App Packages…”
Pick for Windows Store.
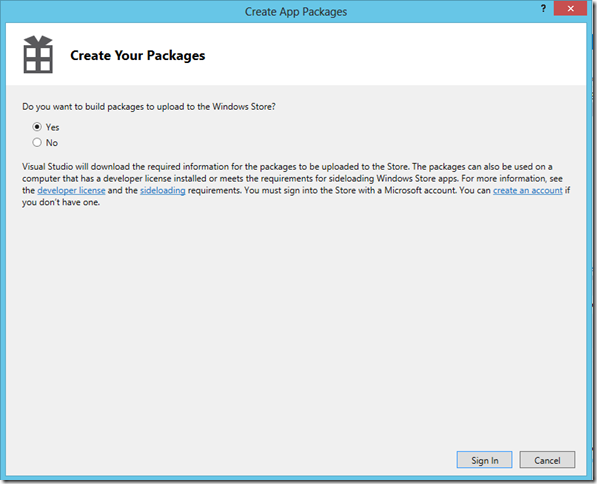
You’ll then be asked to sign in. It’ll find the app name you reserved in the first step and then generate the .appxupload package that you’ll need in the next step:
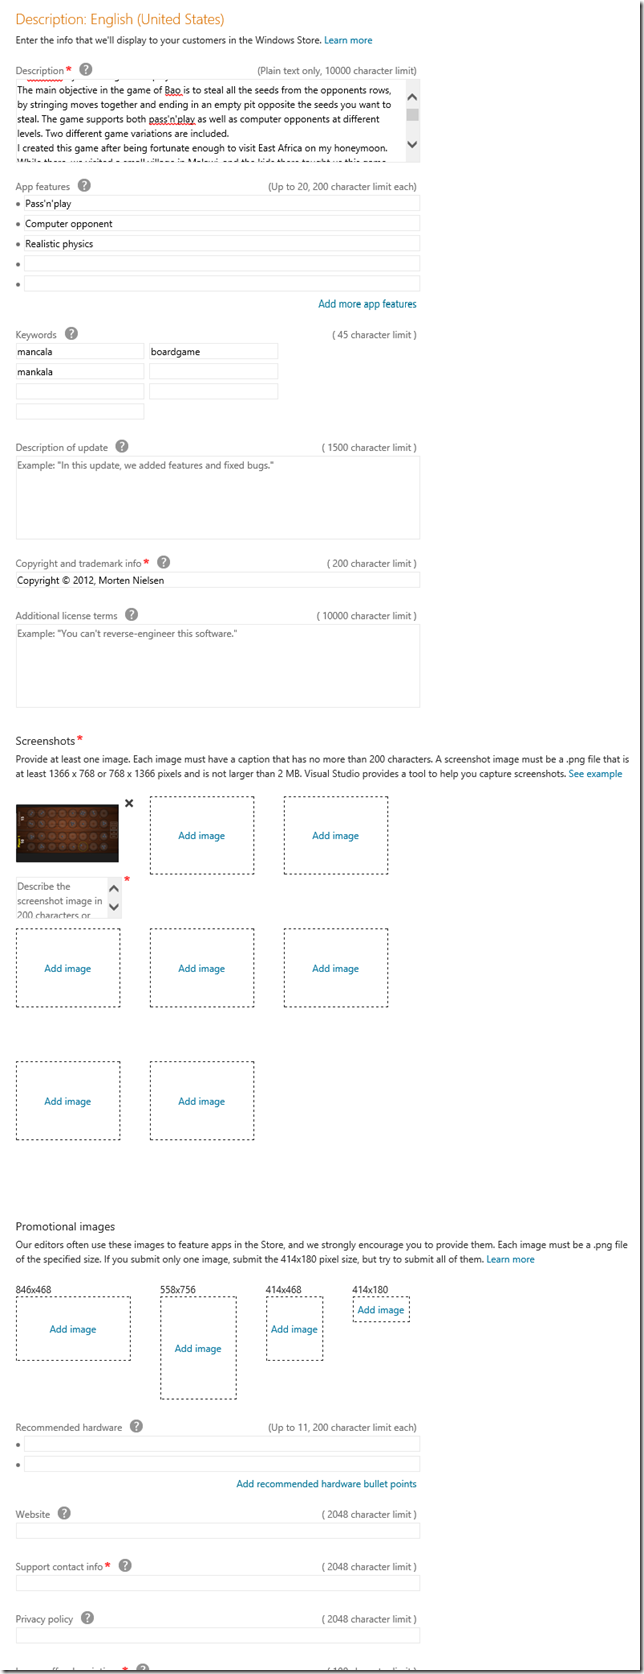
Next is the app description. You’ll need 1-8 screenshots (1366x768), Promotional Images (846x468,558x756,414x468,414x80) keywords, app features, Description, web-link to Privacy Policy (if you have internet-enabled your app), description of all in-app purchace options to name a few.
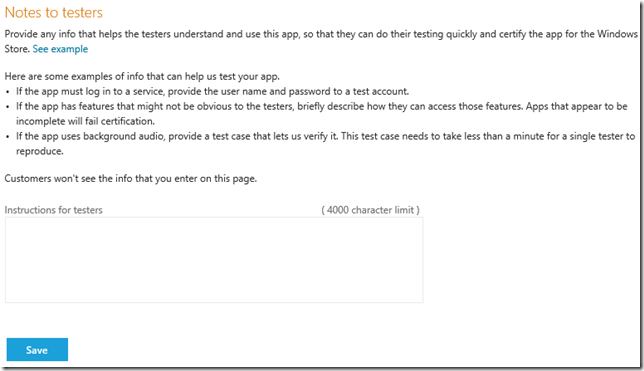
Last step is to optionally include some notes to the testers:
When you’re done, you should be back at the overview page with all check-marks:
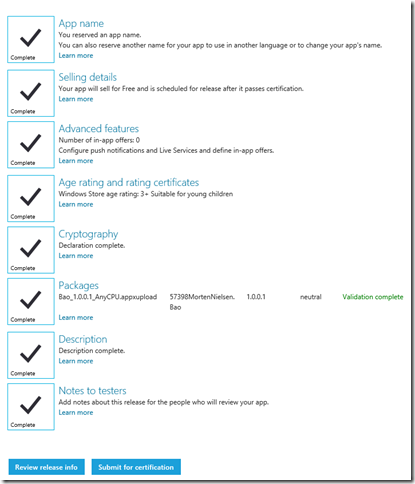
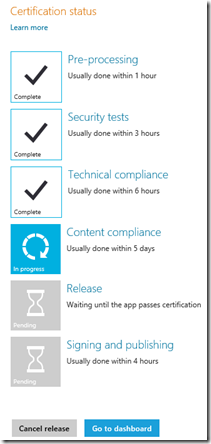
Either review your data, or hit “Submit for certification”. All you can do now is sit back and wait for the app to go through. There’s an estimate listed of how long each step usually takes.
